
The problem and the promise
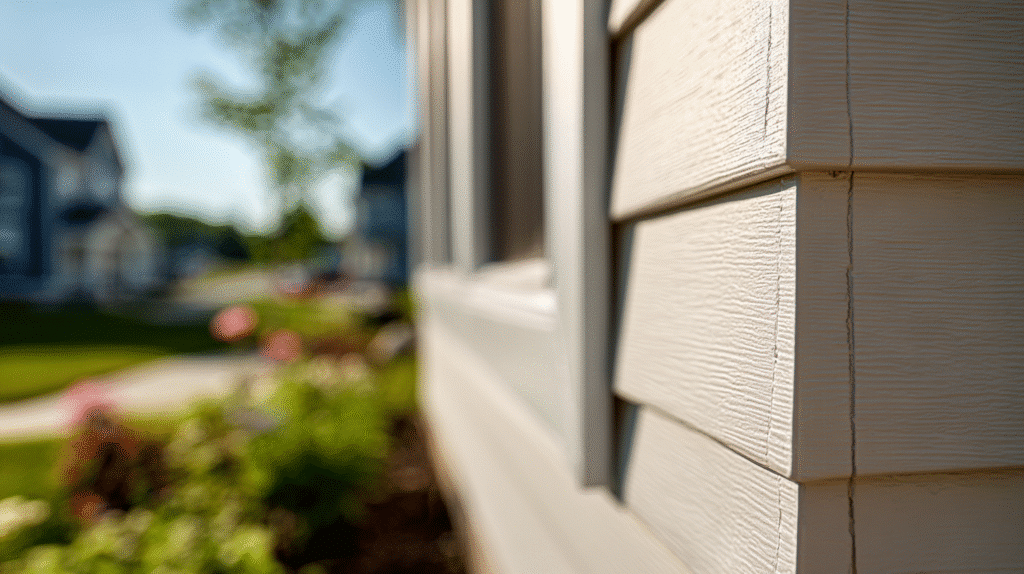
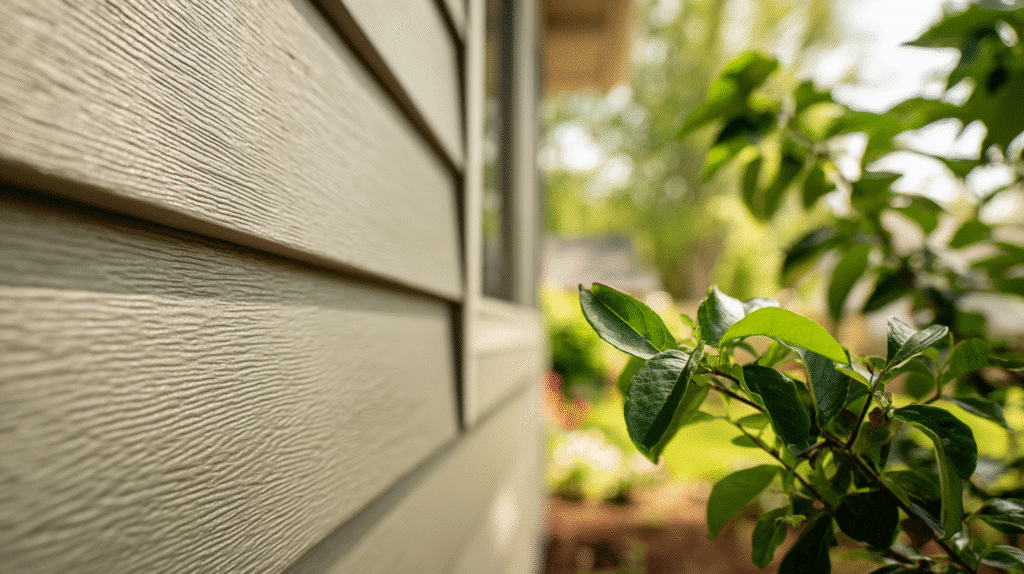
Siding makes your home safe and pretty. But bad work can let in wind and water. It can also look wavy. This guide shows how to install vinyl siding the clean and simple way. You will see what to buy, how to plan cuts, and how to nail just right. You will also see common mistakes and how to fix them fast.
Why this job matters
Good siding is more than skin. It sheds water. Lets the wall move with heat and cold. It helps your home look straight and bright. If the siding is too tight, it can buckle. If nails are wrong, wind can lift panels. With the right order and light touch, your work will last for years.
Quick view: what you will do today
- Check safety, ladders, and weather.
- Set corners straight.
- Add blocks and trim for lights, hose bibs, and vents.
- Snap a level line and install a starter strip.
- Hang the first course and keep going up.
- Trim under windows and at the top.
- Cap gables and finish clean.
Tools and supplies you need
Simple hand tools
- Tape measure, chalk line, pencil, speed square, 2- and 4-ft levels
- Tin snips or aviation snips (left, right, straight)
- Utility knife with fresh blades
- Hammer (or a siding nailer set to low drive)
- Pry bar for small lifts and resets
Ladders and safety
- Extension ladder and, if needed, pump jacks or scaffold planks
- Work gloves, safety glasses, and hearing protection
- Fall protection if you go high
Fasteners
- 1-1/4 in. aluminum roofing nails or exterior screws made for vinyl siding
- Corrosion-resistant only. Never drywall screws.
Materials
- Vinyl corners, J-channel, undersill trim, starter strip (aluminum or vinyl)
- Siding panels (style of your choice)
- Mounting blocks (light blocks, outlet blocks, and meter blocks)
- Aluminum or vinyl F-channel for soffits if needed
- Flashing tape for small touch-ups around openings
- Color-matched accessories for a neat finish
Tip: Store panels flat in the shade. Let them adjust to the outdoor temp for a bit. This helps with smooth cuts.
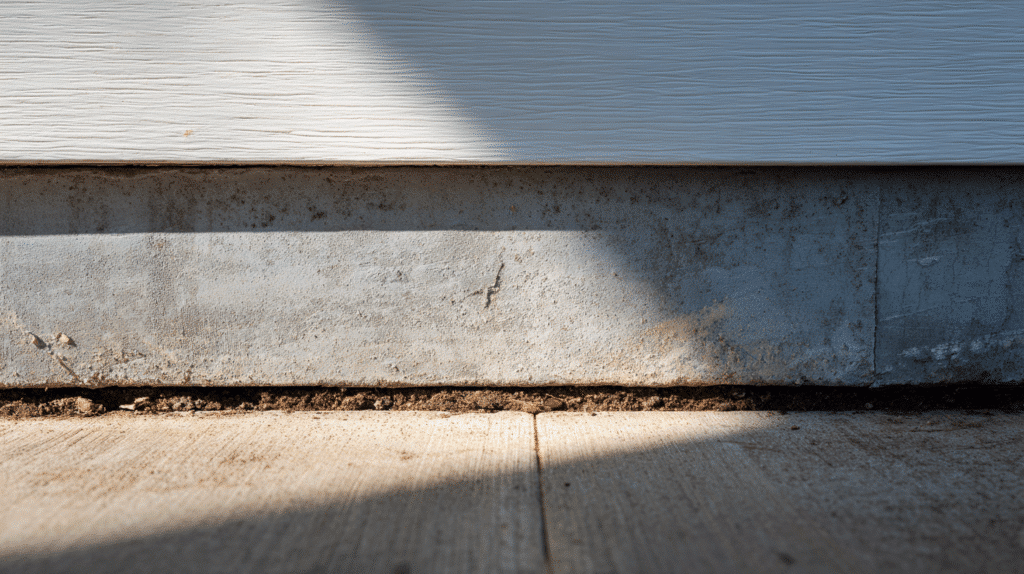
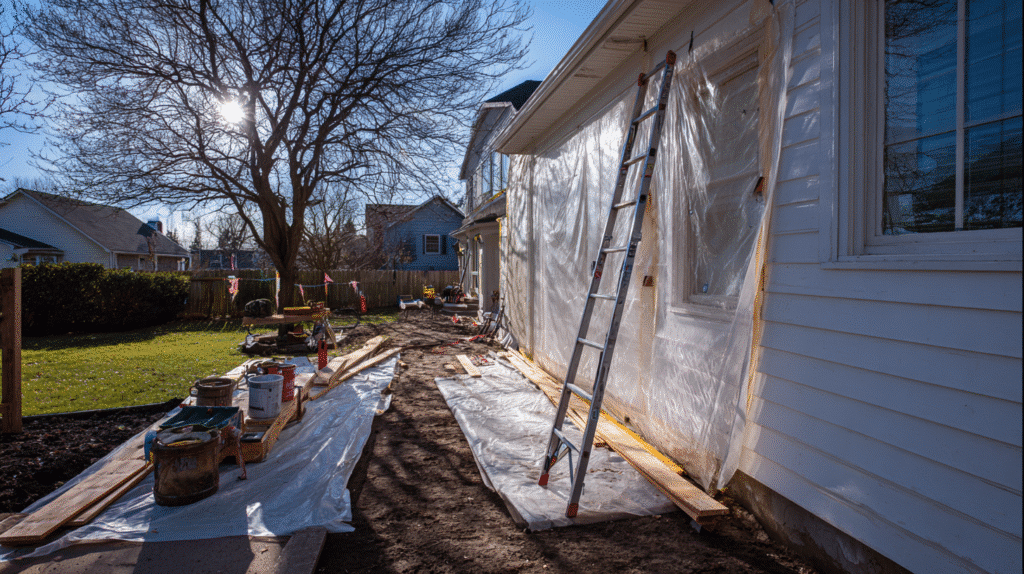
Prep the wall first
Before you hang any panel, look at the base wall.
- House wrap: Make sure it is tight, taped, and shingle-lapped so water drains down and out.
- Flashing: Doors and windows should have pan flashing at the sill and tape on sides and head.
- Sheathing: Fix any soft or bowed spots.
- Layout: Pick the side of each wall where laps are least seen from the street. Start your courses so overlaps face the less-seen side.
Because siding moves, your goal is to hang it, not clamp it. That is the core idea.
Set perfect corners
Corners make the whole wall look straight. So go slow here.
- Mark lines. Measure 3 inches from each outside corner and snap chalk lines from bottom to top. This keeps the nailing flanges straight.
- Cut length. Corners should drop at least 1/2 inch past the top of the foundation so water clears the wall face.
- Notch for soffit or bird box. If the corner hits a soffit, mark and cut the back legs so the face passes clean under the soffit line.
- Nail high in the slots. Start with one nail near the top slot so the corner can hang. Then nail every 16 inches down both flanges. Leave each nail head proud by about 1/32 inch. The corner should slide a little if you tug.
Check: Sight down the corner face. It should look straight and even.
Add blocks and trim now
Any light, hose, vent, or outlet needs a block. Blocks have built-in J-channel so panels tuck in clean. Level each block. Nail every few inches around the flange. If you mount a heavy fixture, put a wood backer behind the hole.
- Under windows: Plan space for undersill trim (a receiver that grips a trimmed panel).
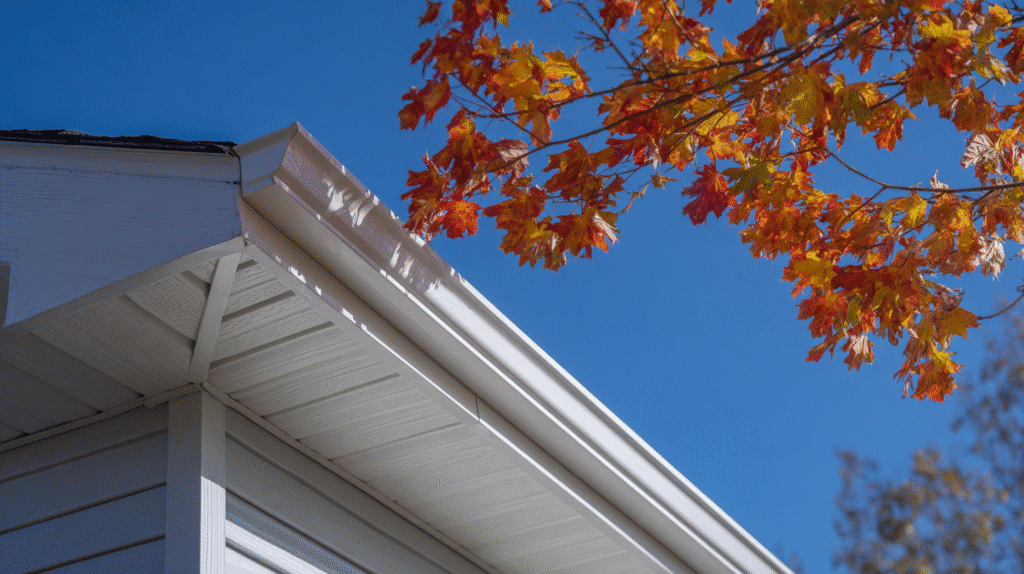
- At roof lines: Add J-channel against the roof step flashing so the gable siding can die in neat.
Snap the baseline and install starter strip
At the bottom of the wall, you need a straight, level line.
- Find level. Measure up from the foundation. Make a mark where the top of the starter will land. Often this is about 1-1/2 in. above the bottom of the wall sheathing.
- Snap the line. Put a nail on each end and snap a chalk line across the wall.
- Install starter. Align the top of the starter with the chalk line. Nail every 12–16 inches. Starter can be aluminum or vinyl. Aluminum stays crisp.
Because the first course hooks into the starter, the rest of the wall will follow that line. So make this step neat.
How to install vinyl siding panels
Now the fun part. Panels link like a zipper. The bottom of each new panel locks to the top of the one below.
- Hook the first panel. Set the left end into the left corner, leaving a 1/4-inch gap inside the corner to allow movement. Hook the bottom lip into the starter.
- Nail it lightly. Nail in the center of each slot every 16 inches. Do not drive tight. Leave a tiny gap under the nail head so the panel can slide.
- Stagger the seams. Overlap panels by at least 1 inch. Keep every factory end on the same side of each lap. Try to land laps away from view.
- Check for slide. After nailing, the panel should move side to side a little. If not, back the nail out a hair.
- Keep courses level. Use your level and the reveal lines on the panels as you go.
Rule of thumb: Always allow for movement. Vinyl grows when warm and shrinks when cold.
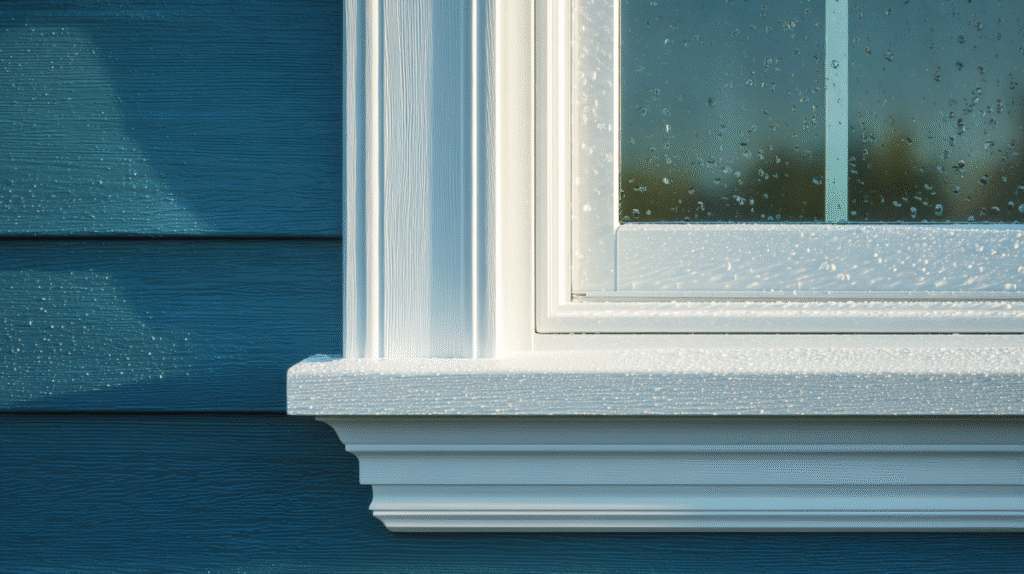
Windows: clean cuts and strong holds
Windows take time, but they make the job look pro.
- Side and head J-channel: Measure and cut J-channel for both sides and the top. Miter the top corners so water drains out. Leave 1/4-inch gaps for movement at ends.
- Under the sill: Install undersill trim under the window. This grabs the top edge of the cut panel below.
- Cut the “under” panel: Hold a full panel in place under the window. Mark the height to rip so the top tucks into the undersill trim. Cut with snips or a fine-tooth blade.
- Lock and tuck: Snap the rip into the panel below and push the top into the undersill trim. It should sit tight and flat.
Because wind can pull on short rips, some pros use a snap-lock tool to punch tabs along the trimmed edge before tucking it into the undersill. It is optional but nice in very windy spots.
Doors, meters, lights, and vents
Treat these like windows.
- Wrap the opening with J-channel or use a factory block.
- Leave 1/4-inch gaps at tight ends.
- Cut panels to slide into the J cleanly.
- Around a light box, finish with the trim plate that snaps over the block when panels are in place.
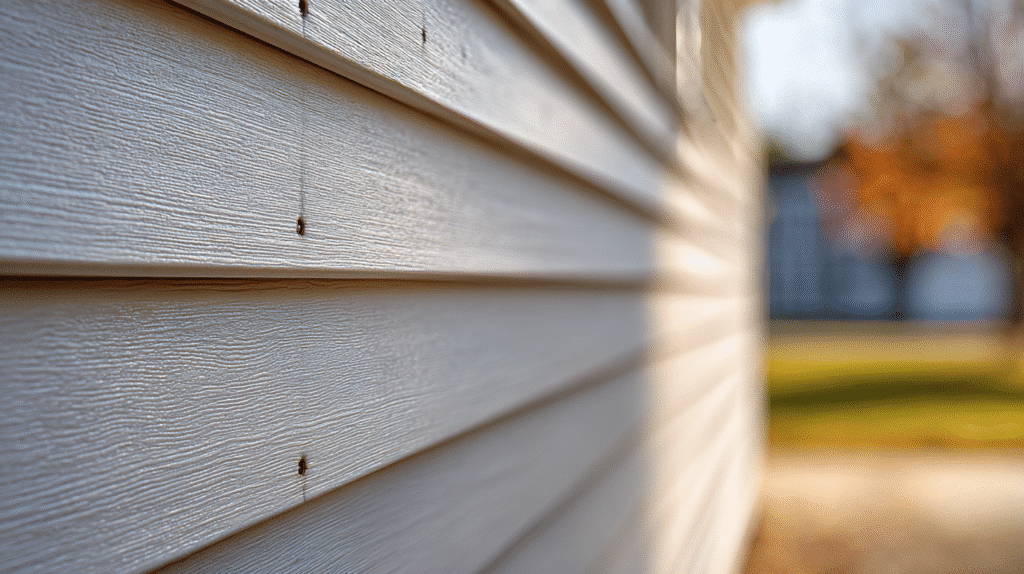
Nail rules that keep panels flat
- Center the nail in each slot.
- Nail straight and level.
- Space nails 12–16 inches apart.
- Never drive nails tight. The panel must move.
- Keep a 1/4-inch gap between panel ends and any trim, corner, or block.
- Do not caulk panel edges. Siding is a rain screen. It must drain and breathe.
Because heat changes length, your light touch prevents blisters and waves.
Climbing the wall: tidy laps and reveals
Plan where each lap will land before you climb. When a wall is long, you will have a lap every 10–12 feet. Place them in a gentle stair pattern so they are not stacked. Keep each lap facing away from the main view. On gable walls, run full courses level; then cut the angle at the rake.
Pro tip: Stand 30 feet back and look down the wall now and then. If a course drifts, correct it within a row or two.
Gables and rakes
Gable cuts look sharp when you mark once and repeat.
- Set the J at the rake. Nail J-channel along the rake boards. Leave small gaps at the ends.
- Make a reusable angle gauge. Hold a scrap panel in place under the rake. Mark the angle and cut the scrap to use as a guide.
- Cut each piece. Transfer the angle to each panel end that meets the rake J-channel. Leave 1/4-inch at the point.
- Hook and nail. Lock the bottom, tuck the angled top into the J, and nail as usual.
Because gable pieces get small near the top, watch your nails. One or two per piece is plenty.
Top of wall finish
At the very top, you usually need a rip that tucks under the soffit.
- Install a last course receiver. Use J-channel or F-channel where the wall meets soffit.
- Rip the final panel. Cut to the right height so the top slides into the receiver snug.
- Add snap-locks if it is loose. Punch tabs along the cut edge if your receiver is deep.
Finally, sight the wall. It should look flat and even.
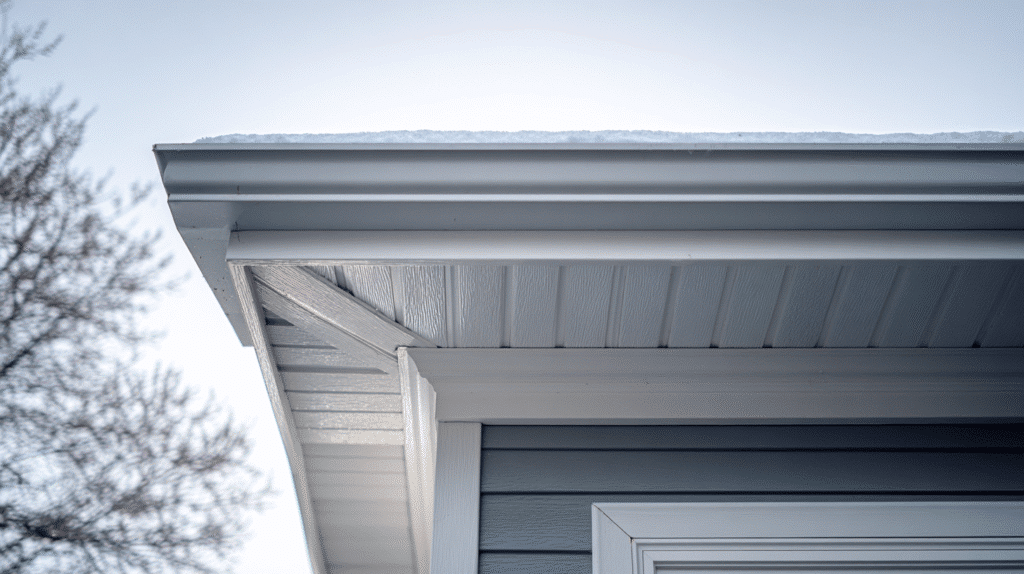
Milwaukee and cold-climate notes
Winters here are challenging.. So:
- Use corrosion-resistant nails only.
- Mind expansion. Panels shrink hard in deep cold and grow fast in sun. Leave those gaps.
- At wind-ward walls near Lake Michigan, use more nails within the slot rules, and consider snap-locks at small rips.
Common mistakes and quick fixes
Nails too tight
Panels pucker and waves show. Back out each nail a hair. The panel should slide side to side.
No gaps at trim
Panels buckle in the sun. Pull and recut ends to leave 1/4 inch at corners, blocks, and J.
Starter not level
Courses climb. Pop the starter and reset on a true line. It is worth it.
Stacked seams
Overlaps draw the eye. Re-cut a few pieces and move laps to a soft stair pattern.
Caulked edges
Vinyl must drain. Remove the caulk and let the J and weep holes do the work.
Simple table: accessories and what they do
| Part | What it does | Where it goes | Install tip |
| Starter strip | Locks the first course | Bottom of wall | Align top to a level chalk line |
| Outside corner | Covers panel ends at corners | Outside corners | Nail high in slots; every 16 in. |
| J-channel | Receives panel ends | Around windows, doors, rakes | Miter top corners; gap ends 1/4 in. |
| Undersill trim | Holds trimmed panel under sill | Below windows and at top course | Use snap-locks in windy areas |
| Mounting blocks | Clean base for lights, outlets, hose bibs | At fixtures | Level first, then side around |
Quick checklist
- Corners straight, past foundation 1/2 inch
- Blocks level and solid
- Starter strip on a clean, level line
- First course hooked and sliding free
- Nails centered in slots, not tight
- 1/4-inch gaps at all stops and trim
- Laps placed away from main view
- Rake and top courses snug in receivers
When to hire a pro
DIY works when walls are simple and the weather is kind. However, tall gables, steep grades, and tricky flashings make the job slow. If you need a hand, bring in a local crew for a day. They can set lines, corners, and first courses, then you can finish.

Friendly help in Milwaukee
If you want a clean, warm look that lasts, talk with Tiltin Windows, Doors & More. The team has served Wisconsin homes for more than 20 years. They work with windows, doors, and siding every day and know our freeze-thaw cycles. They can visit your home, check your walls, and offer a free, clear plan.
Care and upkeep
Vinyl needs little work. Wash it each spring with a soft brush and mild soap. Rinse from the top down. Check for loose laps after big winds and tap them back together. Look at caulk only at trim to wall transitions, not at panel edges.
Costs and time
A small single-story wall can take one day for two people once corners and starters are in. Costs vary by brand and style. However, a simple lap is most budget-friendly. Shake-look panels or board-and-batten trims can cost more and take longer to cut.
FAQs
How many nails per panel do I need?
About one nail every 16 inches across the slots is common. Always center the nail in the slot and leave it a hair proud.
Do I caulk where siding meets J-channel?
No. Vinyl is a rain screen. Water must drain out. Leave small gaps and keep weep holes clear.
Can I use a circular saw to cut panels?
Yes, with a fine, backward blade on low speed, but snips are safer and cleaner. In cold weather, warm the panel before cutting.
How do I keep seams from showing?
Plan laps away from main views. Stagger seams in a soft stair. Keep factory ends on the outside of each lap.
What if my wall is not flat?
Shim furring strips if needed. Wavy walls make wavy siding. Fix low spots before you start.
Is insulation part of the siding?
Some systems add foam backers. Most basic vinyl is not insulation. Your main air and water control comes from house wrap, tape, and flashing under the siding.
Can I hang things from vinyl siding?
Use mounting blocks and proper anchors. Do not screw heavy items through panels alone.
