The problem most buyers notice
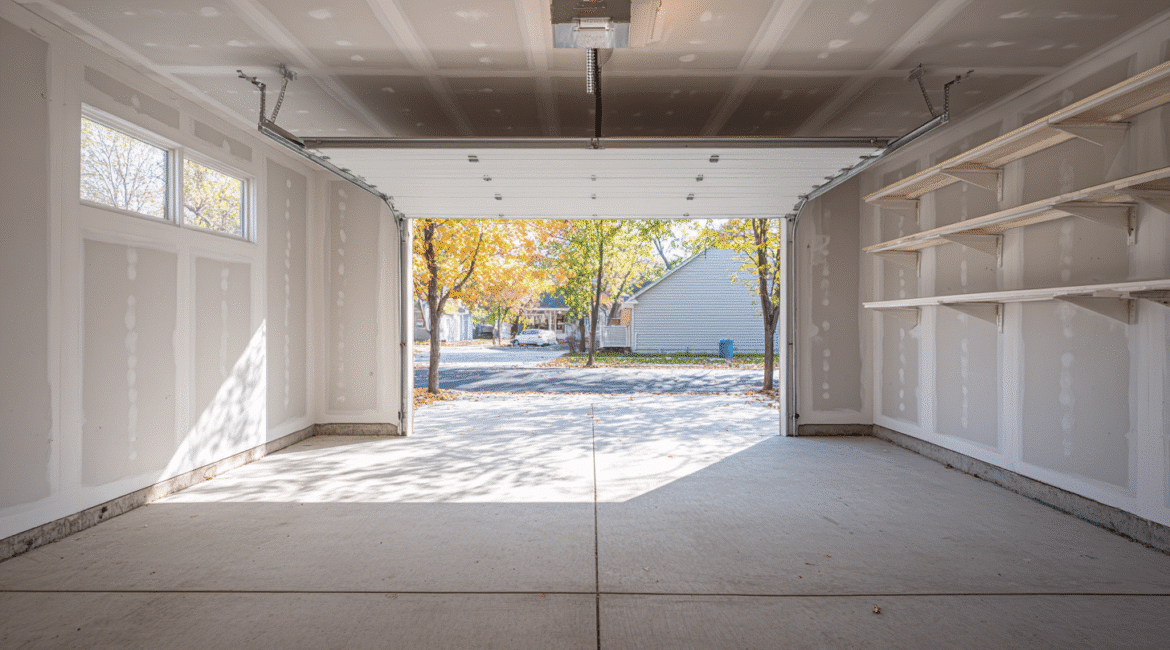
New garages look half done. You see seams, screws, and tape. It feels cold and dusty. You want bright paint and clean walls. Yet most builders stop early. Builders often stop at a low drywall level, so the walls look halfway done. After taping, they usually skip sanding because the garage is not a show space. Primer is left out as well, which means the surface never gets sealed. Without primer, paint does not go on, and the garage keeps that raw, patchy look.
This looks odd. Many homes cost a lot. So why skip a small step? Because that “small step” is not small. The time, labor, and risk add up fast. Also, many buyers would rather spend on the kitchen, bath, or patio. So the garage waits.
What “unfinished” really means
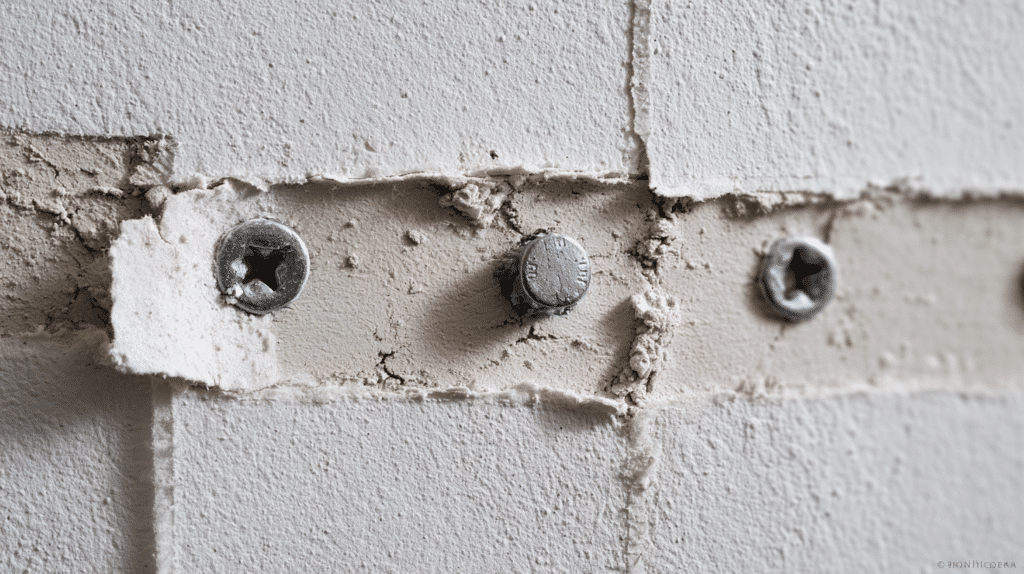
Builders often install drywall for fire safety. But they finish at Level 1 or Level 2. That means one coat of joint compound on seams and fasteners. The tape is set. Screw heads are covered. There is no skim coat. There is no texture. It is not paint-ready.
Why stop there? Because that level meets the fire separation that many codes ask for between the house and the garage. The goal is life safety first. The goal is not beauty.
Codes 101: The fire barrier between house and garage
Garages store cars, fuel, and tools. So the wall shared with the house needs a stronger barrier. In many places, that is a layer of Type X gypsum board with taped joints on the garage side. This slows fire and smoke from moving into the home. Check your local code office for your exact rule. It can change by state and year.
- Interior shared walls: usually 1-layer Type X drywall, taped.
- Ceiling under a living area: often 5/8 in. Type X, taped.
- Doors into house: usually self-closing and rated.
This work adds cost already. Sanding, priming, and painting are not part of the safety rule. So many builders stop once safety is met.
Note: Local rules differ. Cold regions, coastal zones, and some cities add steps such as vapor control or full paint in humid climates. Always check before you start a project.
Money talks: why most production builders stop
Here is how finish work stacks up in a typical two-car garage.
- Level 3 to Level 4 upgrade (extra coats, sanding): adds several labor trips.
- Primer plus two top coats: adds paint, gear, and time.
- Touch-ups after other trades bump the walls: adds rework risk.
- Warranty claims for paint blisters or tape cracks: adds more risk.
A builder may hear this from many buyers: “Put that money into the kitchen.” So the team does the minimum in the garage. Keeps the base price lower. It keeps the schedule short. It reduces paint callbacks.
The property tax rumor, explained
You may hear this: “Do not paint. Your taxes go up.” The truth is mixed. Painting alone often does not change your tax bill. Many assessors do not enter a finished garage to look. Some only check the home from the street. However, big upgrades can matter in some areas. For example, adding heat, insulation, and drywall to convert the space to living area may change your assessed value.
So the safe plan is simple. Check your local assessor’s guidance. Ask how they treat garages in your county. Then decide. For most people, a simple coat of primer and a light color will not trigger a new bill by itself.
Why paint can fail in a garage
Even if you want color, paint is not always the best first step. Here is why.
- Low finish level. At Level 1 or 2, tape ridges and tool marks show through paint.
- Dust and oils. Cars bring in road salt, tire dust, and oil mist. That hurts adhesion.
- Moisture swings. Garages get hot and cold. Large swings can crack mud and peel paint.
- Impact damage. Bikes, yard tools, and bins scrape walls. Drywall marks and dents.
Because of this, many owners pick other skins. Plywood, OSB, PVC sheets, or slatwall can take hits and can hold shelves well. You can also add a crash rail. You have many paths.
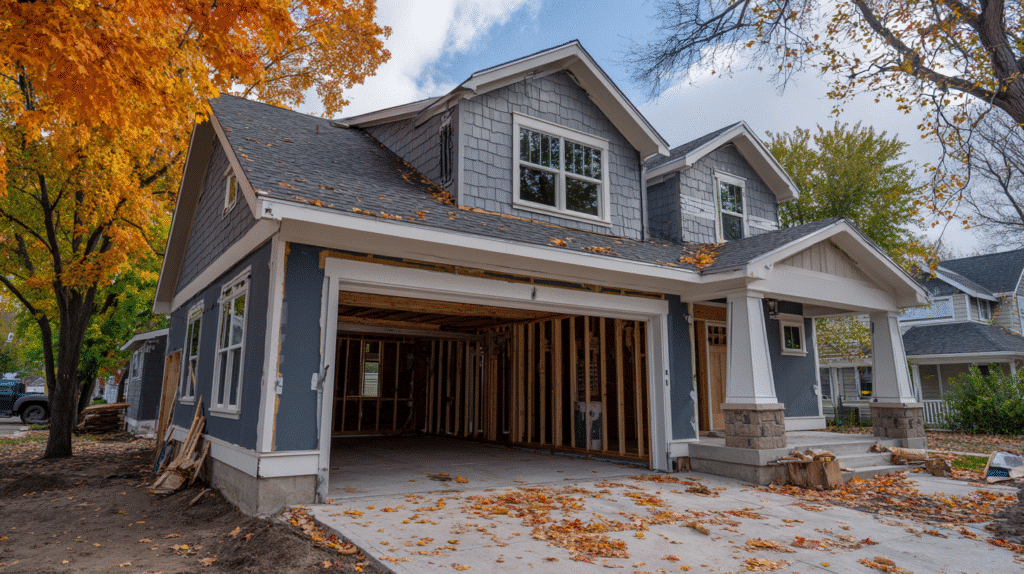
Should you Finish Garage Walls at move-in?
Yes, if you will use the garage as a workshop, gym, or studio. A clean finish gives light and pride. It can seal dust. It can raise comfort. But hold on. First plan the wiring, storage, and insulation. You do not want to close the wall and then wish you ran more circuits.
A simple plan:
- Walk the space. Mark tool zones, car doors, and storage.
- Add outlets where you work. Add a 20-amp circuit for tools.
- Air seal and insulate where needed.
- Pick a wall skin that fits your use.
- Then prime and paint or top-coat.
This order saves money because you avoid rework. It also helps your finish last.
Climate matters, especially in Wisconsin
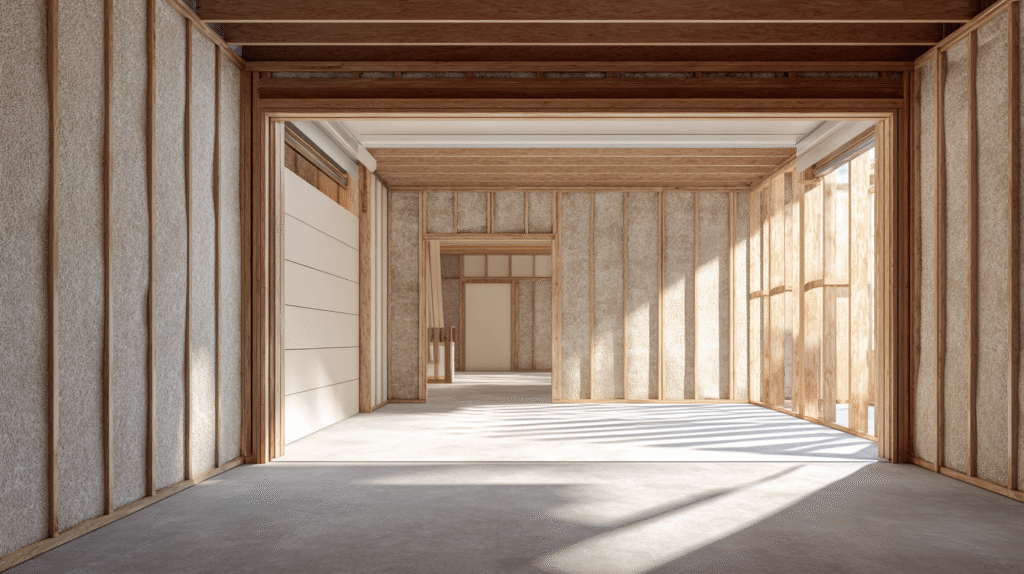
Cold winters and humid summers make garages sweat. A warm car meets cold air. Water forms on the slab and on cool walls. So you need air sealing, correct insulation, and a good primer.
- In cold zones, insulate the wall shared with the house. It helps comfort.
- If you heat the garage, ask your inspector about vapor control.
- Keep snow and salt off the walls with a curb or base trim that can be mopped.
These small steps help any final paint or panel hold up better.
Drywall “levels” in plain words
Drywall has six finish levels (0 to 5). Here is a short guide.
- Level 0: Bare board.
- Level 1: Tape set in mud. Screws dabbed. No extra coats.
- Level 2: A second pass on seams and screws. Still rough.
- Level 3: More mud and light sanding. OK for heavy texture.
- Level 4: Smooth enough for paint with a flat or eggshell sheen.
- Level 5: Skim coated for the smoothest look, even with glossy paint.
Most new garages sit at Level 1–2. To paint well, you want Level 4. So if you plan to Finish Garage Walls, bring the wall up to Level 3 or 4 first. It will look better and last longer.
Your main options, compared
| Option | Cost (materials only) | Pros | Cons | Best use |
| Upgrade drywall to Level 4, then prime and paint | $$ | Bright, clean, easy to touch up | Can dent; needs care near cars | Workrooms, gyms |
| OSB or plywood over studs or over drywall | $$–$$$ | Strong. Holds screws. Hides bumps. | Needs sealing. Visible wood grain unless painted. | Storage walls, shop areas |
| PVC or composite panels | $$$ | Washable. Moisture proof. | Higher price. Needs trim. | Wet or salty climates |
| Slatwall systems | $$$ | Flexible shelving and hooks. | Pricey for full walls. | Tool and sports gear |
| Leave Level 1–2, spot prime only | $ | Quick. Meets code. | Still looks rough. Dust sticks. | Budget-only approach |
Costs vary by size and brand. The table gives a feel for trade-offs so you can pick the right path for your use.
A simple step-by-step: from rough to ready
Here is a quick plan many DIYers follow.
- Seal gaps. Use acrylic or fire-rated caulk at seams in the fire wall as your code allows.
- Improve the finish. Add more joint compound on seams and screws. Let it dry. Sand lightly. Repeat to reach Level 4.
- Prime smart. Use a high-build drywall primer or PVA primer. It seals paper and mud.
- Pick durable paint. Satin or semi-gloss on lower areas resists scuffs. Use light gray or white for more light.
- Protect the lower 24 inches. Add a plywood wainscot, vinyl base, or crash rail.
- Upgrade lighting. Bright LED strips or flat panels make the space feel clean.
- Vent and heat safely. If you add heat, follow clearances for fuel-burning units. Keep CO alarms fresh.
- Finish Garage Walls last. Do storage and wiring first. Then paint or panel once. This cuts waste.
Common mistakes and how to fix them
- Painting over dust. Wipe the walls with a damp microfiber cloth. Then prime.
- Skipping primer. Paint can flash and peel. Always prime first.
- Ignoring door swing. Car doors will chip paint. Add bumpers or a durable wainscot.
- Hanging shelves on bare drywall. Use plywood backing or hit studs.
- Confusing living space with garage space. If you add HVAC and insulation like a bedroom, codes can shift. Ask your city before you cover walls.
Budget tiers for a typical two-car garage
Good ($300–$800): Clean the walls. PVA prime. One coat of durable paint. Add a rubber base along the floor. Improve light with two LED fixtures.
Better ($800–$2,000): Bring seams to Level 3–4. Prime and two coats of satin. Add a plywood wainscot to hip height. Install three circuits of LED lights.
Best ($2,000–$5,000+): Add outlets and a 20-amp tool circuit. Cover walls with 1/2 in. plywood or composite panels. Prime and paint. Add slatwall in one bay. Seal the floor with epoxy or polyaspartic, if approved by your local rules.
Prices are rough and change by region. Labor adds more if you hire out.
Durability tips for garages that work hard
- Use corner guards at outside corners.
- Add a simple French cleat rail for flexible storage.
- Paint with light color above, darker color below. Scuffs will hide.
- Keep a small touch-up kit. Label the can with date and color.
These habits keep your walls fresh for years.
Taxes, permits, and insurance: what to ask
- Permits: Many cities do not need a permit for paint. But new outlets, heaters, or a new ceiling often do.
- Taxes: Assessors may not check inside your garage. Still, big upgrades can change value in some places. A quick phone call clears this up.
- Insurance: Ask if adding heat or fuel storage changes your policy. Keep the garage safe and tidy.
A five-minute call before you begin can save you time and stress.
Real use cases
The workshop: You want shelves and a bench. Use plywood over studs so screws hold. Prime and paint a satin finish. Add a sacrificial bumper at fender height.
The home gym: You want clean walls and mirrors. Bring drywall to Level 4, then prime and paint white. Add corner guards. Keep a dehumidifier in summer.
The clean storage bay: You want bins and bikes. Install slatwall on one wall, leave others at Level 2 with primer only. It looks neat and costs less.
These paths give a finished look where it counts most.
Quick checklist to plan your upgrade
- Set your use: storage, gym, studio, or shop.
- Map outlets, lights, and charging spots.
- Air seal and insulate as your climate needs.
- Pick a wall skin.
- Prime, then paint or top-coat.
- Add guards and a washable base.
- Save the color and sheen for future touch-ups.
Print this. Check boxes as you go.
A local note for Milwaukee and Wisconsin readers
Our winters are long and salty. So add a washable base at least 6 inches tall. Use light color paint for brightness in short days. Also vent the space well when cars are wet. This helps your finish last. If you own an older Milwaukee bungalow, you may also have a shared wall of lath and plaster. Ask a pro about fire rating if you plan to open that wall.
Friendly help from a local pro
If your project ties in new windows or an entry door to the house, you may want expert help. Milwaukee readers can book a free, no-pressure visit with Tiltin Windows, Doors & More. The team has more than 20 years serving Wisconsin homes. They can advise on door fire ratings, weather seals, and light upgrades so your garage feels bright and tight.
Should you wait or finish now?
If you just moved in, live with the garage for a season. See how you use it. Then choose. If you will work there often, move forward. Bring the drywall to paint-ready, or add panels. Then add light. The result is a clean space you enjoy every day.
The short answer
Builders leave most garages at a low drywall level because it meets code, saves money, and avoids paint callbacks. Taxes rarely change for paint alone. Climate and use should guide your final plan. If you decide to Finish Garage Walls, plan wiring first, then raise the finish level, prime, and paint or panel for strength.
FAQs
Is it bad to leave my garage unpainted?
Not always. Level 1–2 drywall meets many fire rules. But dust sticks, light is low, and it looks rough. A primer and light top coat can help.
Will finishing my garage raise taxes?
Often not for paint alone. Big upgrades can be found in some places. Ask your assessor to be sure.
What paint is best for a garage?
Use PVA primer, then satin or semi-gloss latex. It wipes clean and resists scuffs.
Can I paint over Level 1 drywall?
You can, but it may look streaky. Add more mud to reach Level 3–4 for a smoother result.
What if I want to hang shelves anywhere?
Add a plywood layer over the studs. It holds screws well and protects the drywall.
Do I need a permit to finish the walls?
Often not for paint. But electrical, heaters, new ceilings, or structural work may need permits. Check your city.
Is OSB safe to use on the fire wall?
In many places you still need the Type X gypsum layer on the house side. You can add OSB over it for strength. Confirm with your inspector.
Sources
- International Code Council. “IRC Fire Separation Requirements for Garages.” Accessed November 4, 2025. ICC Digital Codes
- Gypsum Association. “GA-214 Levels of Finish for Gypsum Panel Products.” Accessed November 4, 2025. https://www.gypsum.org/
- U.S. Department of Energy. “Air Sealing Your Home.” Accessed November 4, 2025. Department of Energy
- National Fire Protection Association. “Home Heating Safety.” Accessed November 4, 2025. NFPA
