
Replace windows or siding first? This simple guide shows the best order and why it matters. First, we explain how windows and siding work together. Then, we share signs to watch for and easy tables to help you choose. Finally, you will see local tips for Milwaukee homes and a short plan you can use today.
By the end, you will know when to choose windows first, when to choose siding first, and when doing both together makes the most sense. You will also see a simple checklist, helpful tables, and local tips for Milwaukee, Wisconsin homes.
Why the order matters
Windows and siding work together to protect your home. A tight home keeps heat in and wind and water out. When the order is wrong, you can get leaks, drafts, and damage. When the order is right, the flashing and the house wrap line up well, and your home stays dry and warm.
According to the U.S. Department of Energy (DOE), heat gain and heat loss through windows are responsible for 25%–30% of residential heating and cooling energy use. That is a big number. Better windows and proper air sealing make a real difference. Source: U.S. DOE Energy Saver, “Windows.”
ENERGY STAR also notes that sealing air leaks and adding insulation can save up to 15% on heating and cooling costs for many homes. Source: ENERGY STAR, “Sealing and Insulating.”
So the order is not just about looks. It is also about comfort, bills, and how long your home lasts.
The short answer (and when it changes)
Most of the time, the best order is:
- Replace windows first
- Then install new siding
Here is why. New windows are flashed into the wall opening. The house wrap and flashing around the window should lap over and under the right layers in the wall. New siding then covers the edges and makes a clean, water-tight finish. Doing windows first makes the weather barrier cleaner and safer.
But there are times when siding first is the better choice. For example, if your siding has active leaks, or if the sheathing(the wood under the siding) is rotting, you may need to fix those wall layers right away. You can then protect the openings and plan new windows soon after.
The next sections explain both paths in easy steps.
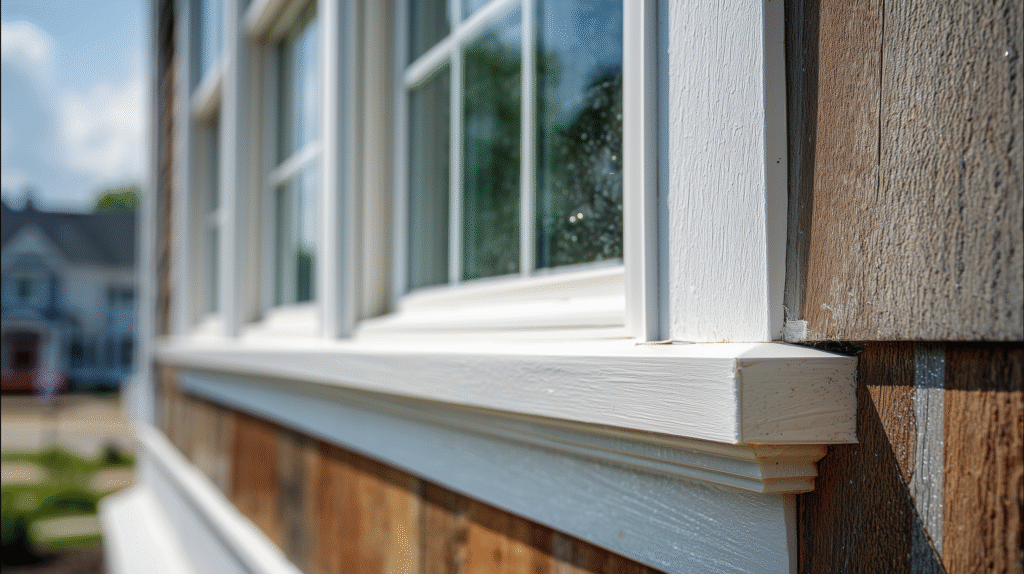
How walls and windows work together
Think of your wall as a cake with layers. From inside to outside you may have drywall, studs with insulation, sheathing, house wrap (water-resistive barrier), and then siding. Your windows sit in openings that pass through these layers.
To stay dry:
- The window pan flashing at the bottom guides water out.
- The side flashing and head flashing (top) layer over the house wrap in the right order.
- The siding covers and protects the edges.
If you install siding first and then try to add or change windows later, you may have to cut the new siding again, pull it back, and redo the flashing. That can waste time and money.
Signs your windows should be replaced first
Choose windows first if you see one or more of these:
- Foggy glass (moisture between panes)
- Rotting frames or soft spots
- Drafts you can feel, even when closed
- Windows that stick, won’t lock, or won’t stay open
- Water stains or peeling paint near the window
- You plan to change window sizes or styles soon
Why this matters: bad windows can leak air and water at the frame. They can also waste energy. The DOE says windows can account for 25%–30% of heating and cooling energy use. Upgrading and sealing them right can cut that waste. Source: U.S. DOE.
ENERGY STAR has also reported that replacing single-pane windows with ENERGY STAR models can save hundreds of dollars per year on energy bills, depending on climate and home. (ENERGY STAR savings vary by house and region.)
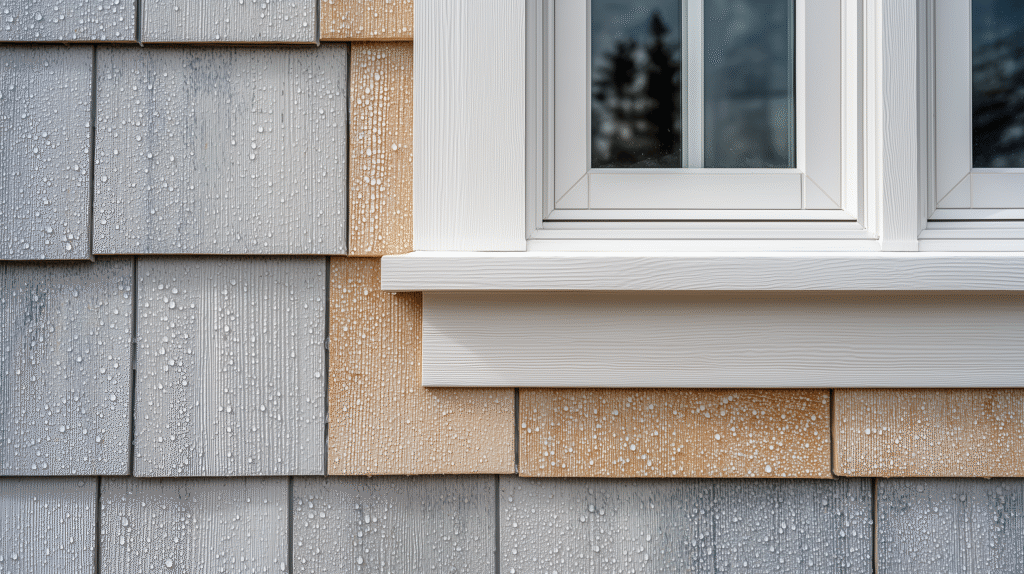
Signs your siding should be replaced first
Choose siding first if you see one or more of these:
- Water getting behind the siding (active leaks)
- Warped, cracked, or missing siding
- Rotting sheathing under the siding
- Pest damage (carpenter ants, termites, or woodpecker holes)
- Mold or soft, spongy spots along the wall
- Severe storm damage
Why this matters: if water is getting behind the siding now, your wall system may be at risk. Fixing the wall and weather barrier comes first. After you re-wrap and repair, you can add new windows or prepare the openings for new windows soon after.
Decision table: windows or siding, which needs to be replaced first?
| Situation | Choose First | Why |
| Fogging glass, drafts, rotten frames | Windows | Window failure wastes energy and leaks into the wall; new siding later finishes the weather seal |
| Changing window sizes or styles | Windows | Flash and trim windows to new size first; siding follows for a clean tie-in |
| Siding is leaking or missing in areas | Siding | Stop bulk water now; repair sheathing and wrap, then plan windows |
| Sheathing rot or mold behind siding | Siding | Wall health is urgent; re-wrap and rebuild the water barrier |
| Both are very old, both look bad | Windows → Siding | Most efficient sequence in one project; best long-term seal |
| Tight budget, only one this year | Depends on most urgent risk | Fix the system causing leaks or highest energy waste first |
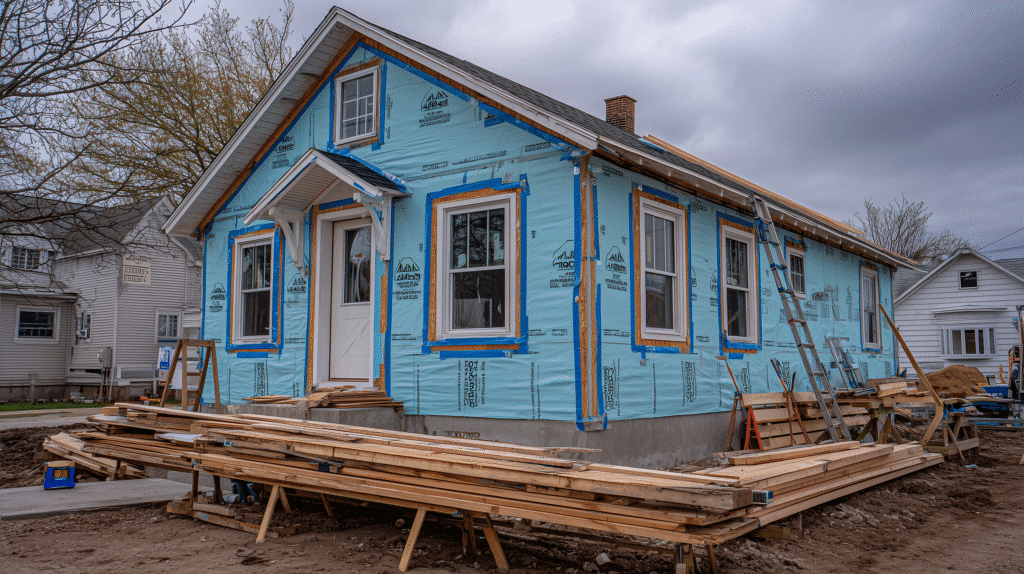
The best sequence when you do both together
If you are doing a full exterior refresh, the cleanest path is often:
- Remove old siding around windows first to expose flashing and allow safe removal.
- Remove old windows.
- Repair rough openings (rotted wood, water stains, or soft sheathing).
- Install pan flashing at the bottom of each opening to guide water out.
- Install new windows. Set them plumb and level.
- Flash the sides and head per the manufacturer’s instructions.
- Install or repair house wrap so it shingle-laps over flashing in the right order.
- Add insulation board if part of your siding plan (continuous exterior insulation).
- Install new siding and trim.
- Seal small gaps with approved sealants and backer rod where needed.
- Final check for straight lines, tight joints, and smooth caulk.
This order helps manage water. It also makes it easier to get a neat look at trim and corners.
Energy and comfort: what the numbers say
- Windows: The DOE reports that windows can account for 25%–30% of heating and cooling energy use. Better windows and air sealing can help a lot, especially in cold, windy places. Source: U.S. DOE Energy Saver.
- Air sealing + insulation: ENERGY STAR states that sealing leaks and adding insulation in the right areas can save up to 15% on heating and cooling for many homes. Source: ENERGY STAR, “Sealing and Insulating.”
- Wall layers vs. siding alone: Siding by itself adds little insulation value. Comfort gains come from the whole wall system: good house wrap, taped seams, foam board (if used), and tight windows. Sealing and layering are what stop wind and water.
If you must choose only one item this year, pick the one that reduces the most risk today. If windows are leaking air and fogging, that often means windows first. If the wall is taking on water and the sheathing is soft, that often means siding first.
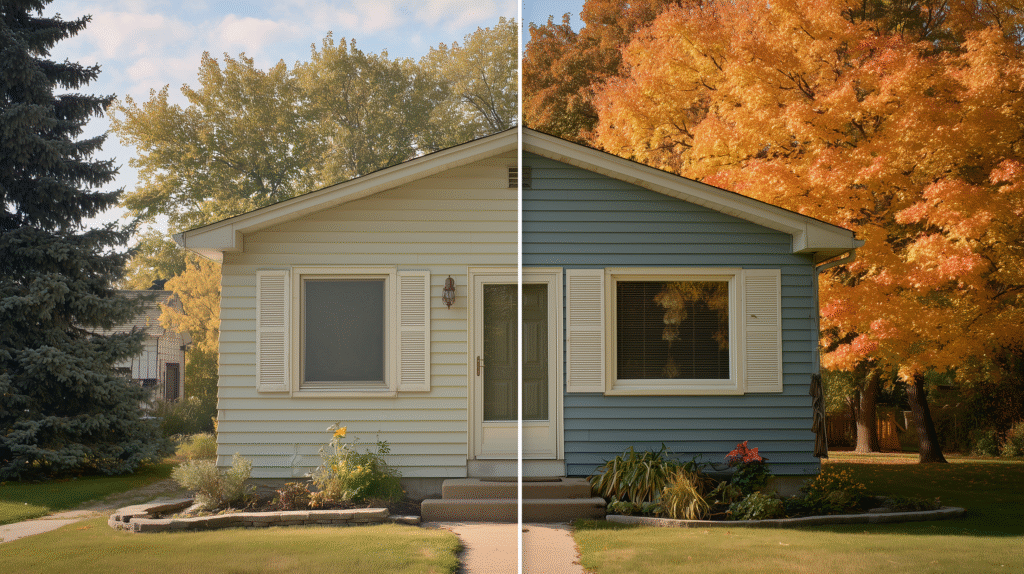
Milwaukee and Wisconsin weather: what to expect
Milwaukee winters are cold and windy. There is snow and ice. There are many freeze–thaw cycles. Your exterior needs to handle wind-driven rain, ice dams, and big temperature swings.
Helpful tips for our climate:
- Favor durable siding (fiber cement, engineered wood, or steel) over low-end options in areas with heavy weather.
- Use proper flashing at windows and doors.
- Use quality house wrap or drainable WRB and follow the shingle-lap rule.
- Ask about closed-cell backer rod and long-life sealants at key joints.
- If you add exterior foam, plan for window jamb extensions inside so trim meets the thicker wall nicely.

Safety note for older homes
If your home was built before 1978, your old paint could have lead. The EPA Renovation, Repair and Painting (RRP) Rule sets rules for safe work in homes with possible lead paint. Hire RRP-certified pros and ask about their lead-safe plan. Source: EPA RRP Program.
What if your budget is tight? Phasing that still makes sense
You can phase the work and still keep a good flashing plan.
Option A: Windows this year, siding next year
- Replace windows now.
- Flash windows to the existing WRB as best as possible.
- Use temporary trim or patch siding carefully.
- Next year, remove old siding and complete the final WRB and siding layers with full detail.
Option B: Siding this year for an urgent leak, windows next
- Remove failed siding.
- Repair sheathing.
- Install new WRB with proper window flashing tape around current windows.
- Next year, replace windows using “remodel” flanges or approved methods to tie into the existing WRB without tearing off new siding. This can be done, but you need a pro plan to avoid cutting too much fresh siding.
Talk with a local installer about your home. A quick visit can help you choose the right path.
Common mistakes to avoid
- Installing siding first, then replacing windows later without a flashing plan: You may damage the new siding and risk leaks.
- Skipping pan flashing under windows: Water needs a path out. Pan flashing is your safety net.
- Not checking sheathing: If wood under the siding is soft, fix it now before covering it again.
- Forgetting air sealing: Pretty siding does not stop drafts by itself. Seal seams, tape WRB, and foam gaps.
- Using random caulks: Follow the window and siding maker’s instructions for tapes and sealants. Some products do not work together.
- Ignoring lead-safe rules in older homes: Protect your family and follow EPA RRP.
Simple “Yes/No” checklist to choose your order
Answer these out loud:
- Do your windows fog, stick, or leak air?
- Do the frames feel soft or rotten?
- Do you plan to change window sizes soon?
- Is your siding cracked, missing, or warped?
- Is there confirmed water behind the siding?
- Is the sheathing soft or moldy?
- Do you want to do both this year?
If you answered “yes” to 1–3 and “no” to 4–6: do windows first.
If you answered “yes” to 4–6: do siding first.
If you answered “yes” to 7: do windows, then siding in one project.
Materials that pair well in Wisconsin
Here are common siding choices and how they pair with new windows:
| Siding Type | Why It’s Popular Here | Pairing Tips with New Windows |
| Fiber cement | Durable in cold and wet; resists rot and pests | Set windows first; detail flashing; trim profiles give a clean look |
| Engineered wood (e.g., LP SmartSide) | Wood look with better weather resistance | Confirm clearances at roof lines; use high-quality sealants |
| Steel | Very strong in hail and snow; low upkeep | Mind thermal movement details; choose trims that fit window fins |
| High-grade vinyl | Budget option; many colors | Tight WRB and flashing are key; use good foam at gaps |
No siding can fix a bad flashing job. The window and WRB details do most of the water work. Siding is the outer armor.
A sample project plan (two weeks, typical home)
Day 1–2: Prep, protect landscape, set up materials, remove siding near windows
Day 3–5: Remove old windows, repair openings, install and flash new windows
Day 6–8: Update WRB, tape seams, add exterior foam if part of plan
Day 9–12: Install new siding and trim, integrate with window flash and head flashing
Day 13–14: Final caulk at select joints, paint or touch-up, site clean-up, walkthrough
Homes vary. Weather can change the schedule. The key is to keep the window-to-WRB-to-siding sequence in the right order.
Helpful facts and trusted sources
- Windows and energy: Windows can account for 25%–30% of home heating and cooling energy use. Source: U.S. DOE Energy Saver – Windows.
- Air sealing + insulation: Sealing air leaks and adding insulation can save up to 15% on heating and cooling costs. Source: ENERGY STAR – Sealing and Insulating.
- Lead-safe rules: Homes built before 1978 may have lead paint; follow EPA RRP rules during window and siding work. Source: U.S. EPA RRP.
These facts support the idea that order and details matter. The goal is to stop leaks, stop drafts, and protect the wall system.
Ready for local help in Milwaukee?
Tiltin Windows, Doors and More has helped Milwaukee homeowners for more than 25 years. We install windows, doors, and siding that stand up to Wisconsin weather. We also help you pick the right order for your home, so the project is done right the first time.
We offer a free consultation. We will check your windows and siding, look for signs of leaks and drafts, and give you a clear plan and quote.
Contact Tiltin Windows, Doors and More today to schedule your free visit.